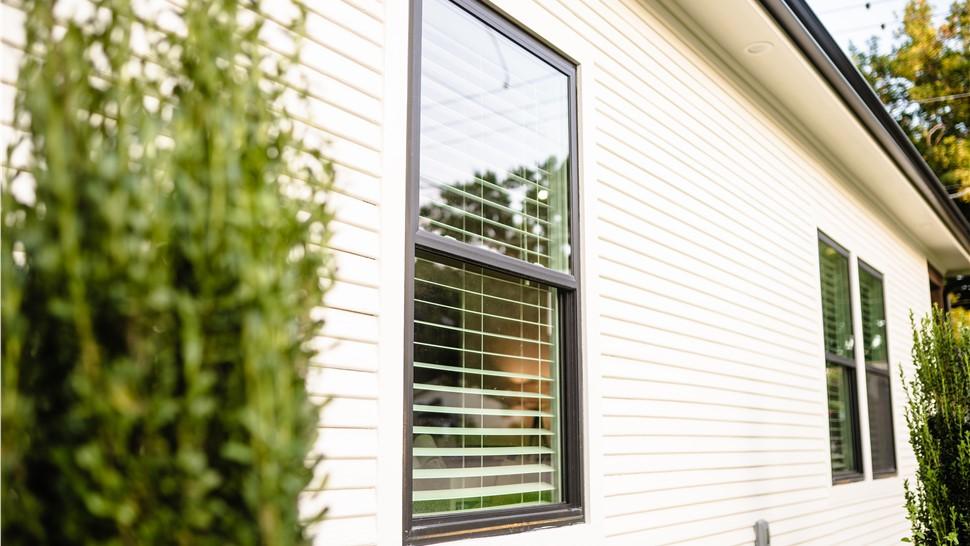
If you're not sure if you should choose single or double-hung windows for your home remodel, you're not alone. Plenty of homeowners wonder the same thing when weighing their options.
Read More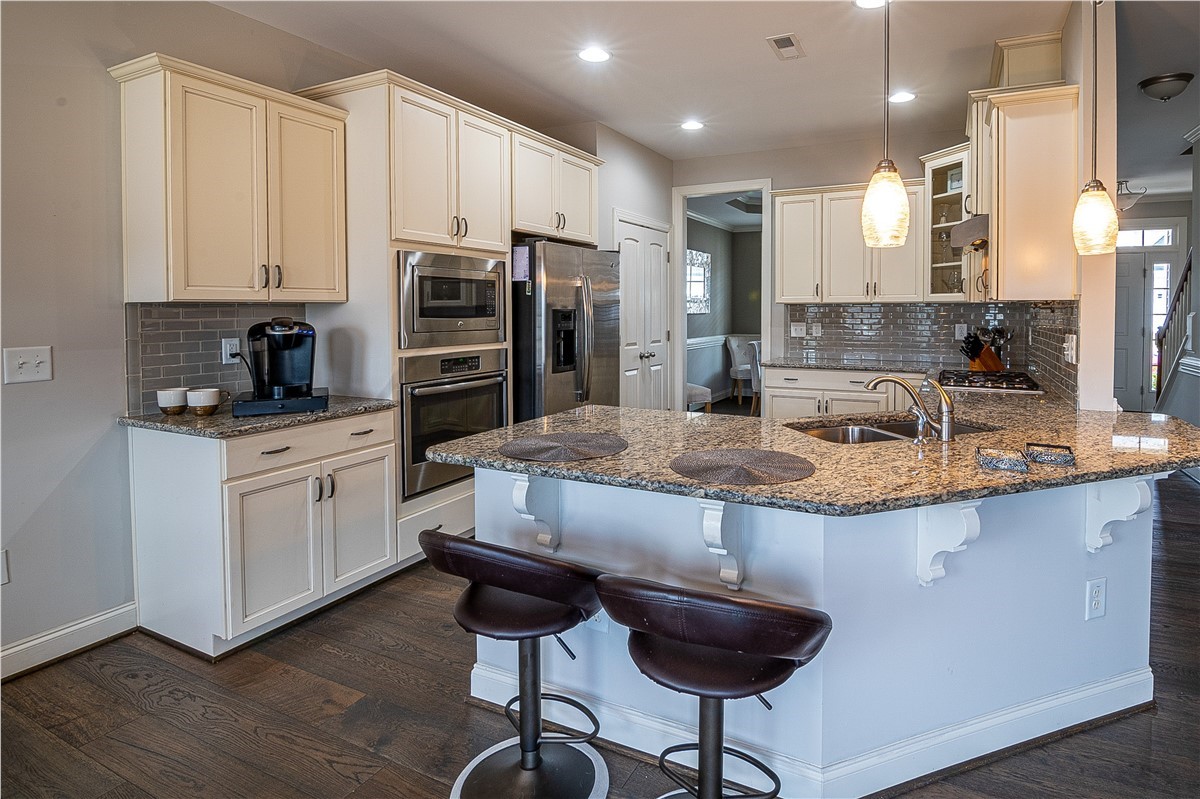
Many homeowners daydream about their ideal kitchen layout, design and appliances, but hesitate to actually get started on the project when the time comes to invest in some updates.
Read More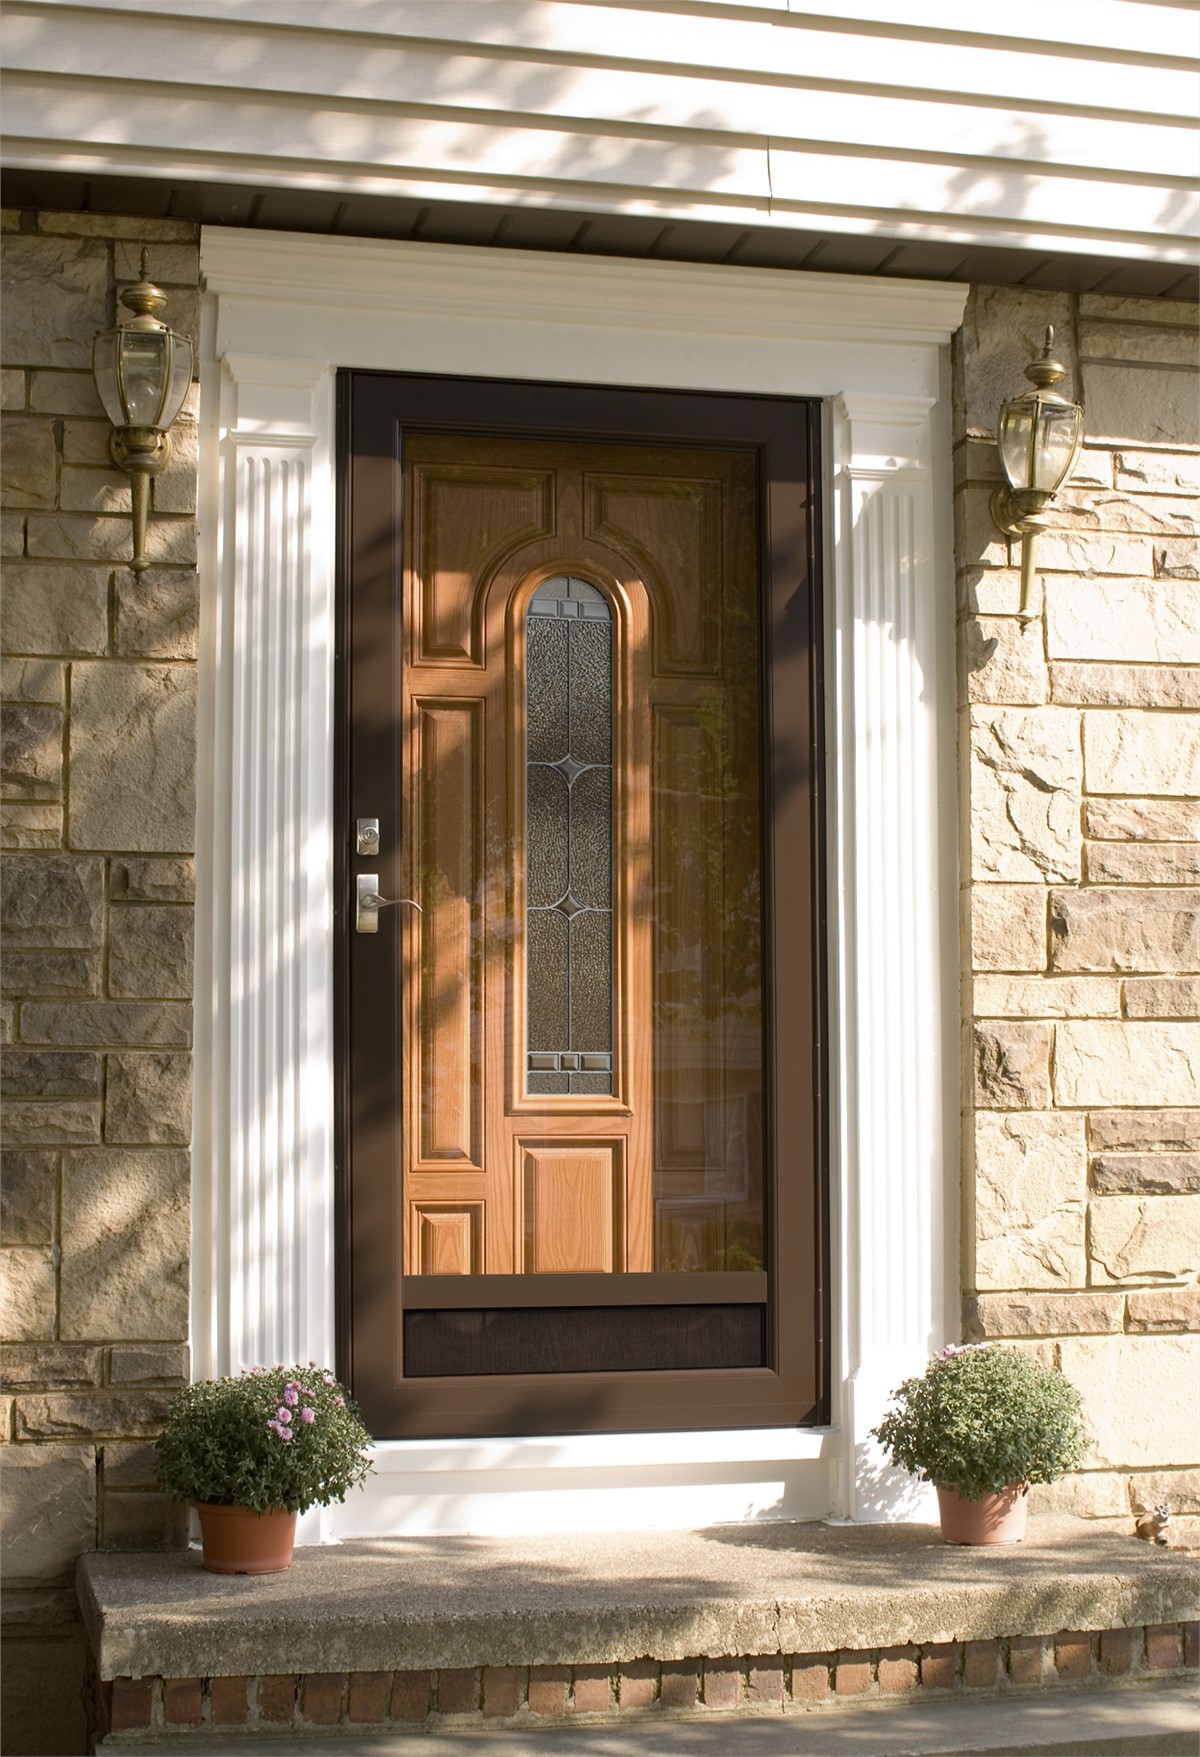
Entry doors and security doors are two of the most popular types of front door options on the market. If you are considering replacing the exterior front doors of your home, you might be curious about the differences between standard entry doors and security doors.
Read More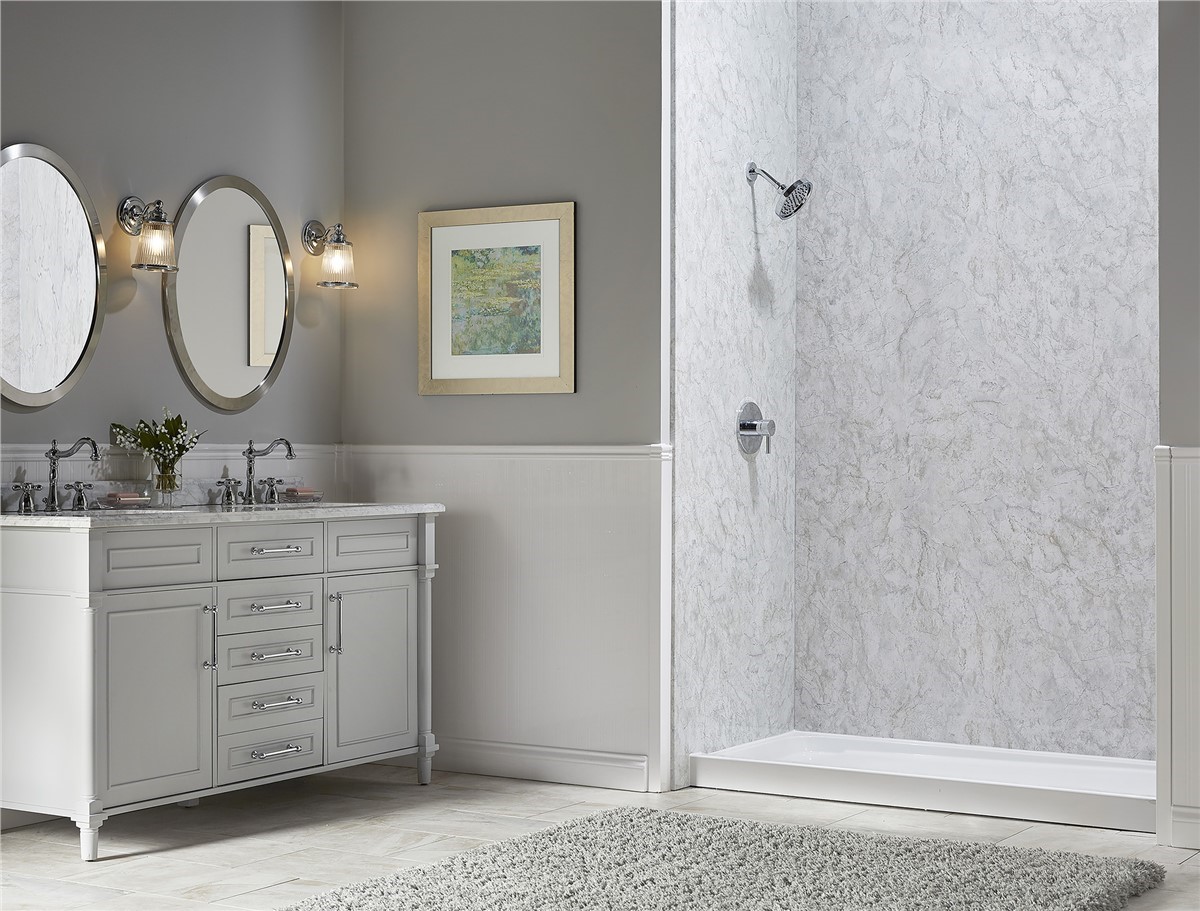
Investing in a new bathtub is a big deal, and as a homeowner, you'll want to keep it in great shape. When maintaining your acrylic tub, it's important to follow a cleaning schedule and be careful of the products you use. Letting soap scum build up or using an abrasive cleaner can cause damage.
Read More
At Expo Home Improvement, we believe a safe, dignified home is the foundation for a better future. It’s why we’re passionate about serving Texas families and why, this August, we’re honored to take that mission abroad.
Read More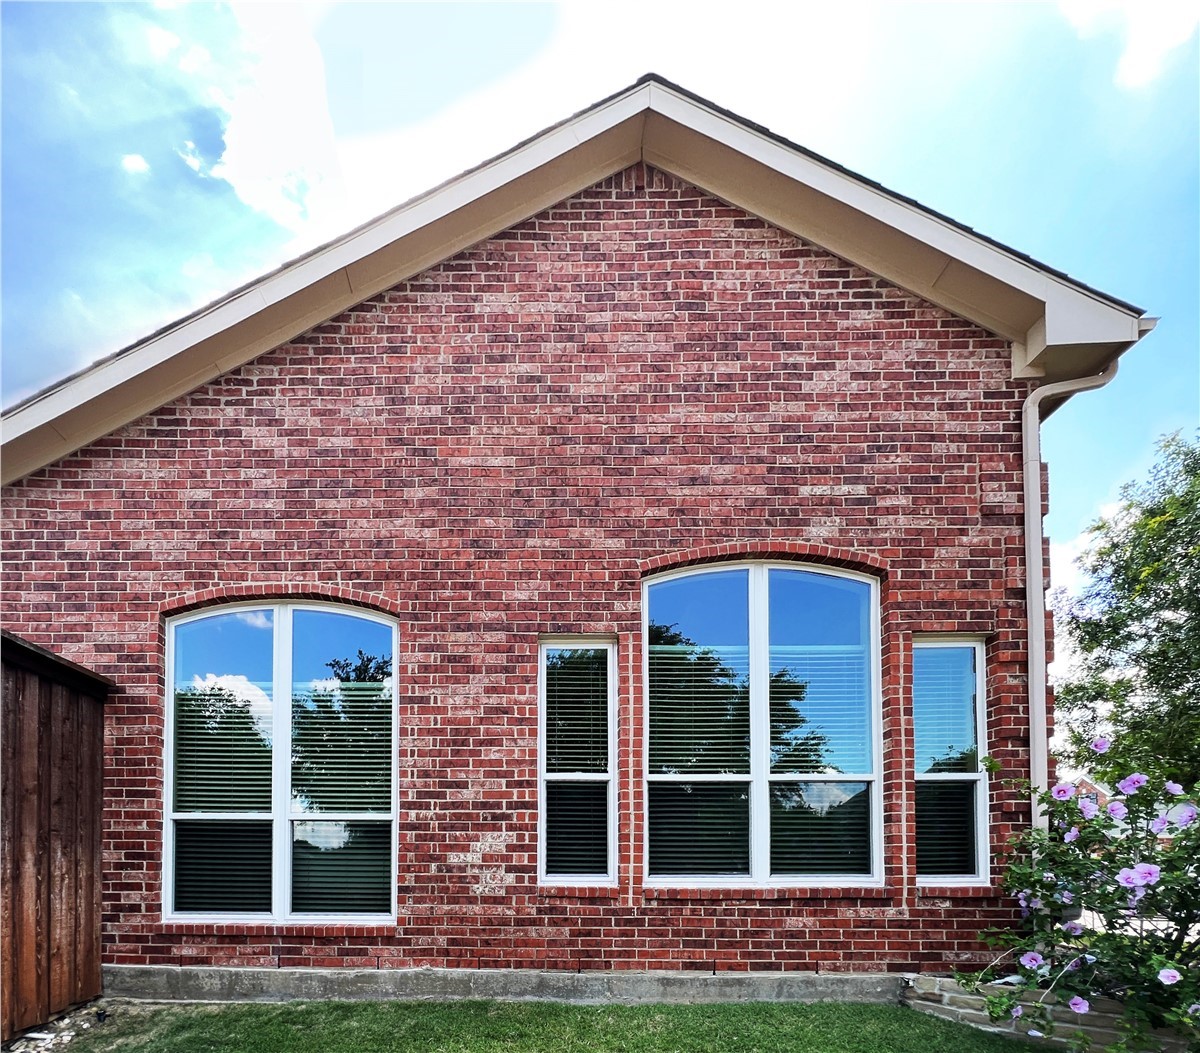
Maintaining your new windows can extend their lifespan and maintain excellent curb appeal. While it's impossible to prevent wear from exposure to the elements, you can slow down the process.
Read More
If you're considering a kitchen remodel, why not go with the more affordable and efficient alternative to a cabinet replacement? Kitchen cabinet refacing has become one of the most popular ways to modernize kitchens across Texas.
Read More
It's likely not a surprise to you that energy costs have risen in the past few years. While they can often seem unavoidable, there's actually quite a lot you can do as a homeowner to reduce their burden.
Read More
The bathroom is the last place in a home where you and your loved ones should feel uncomfortable. Unfortunately, many families with mobility concerns find that their bathrooms are unsafe.
Read More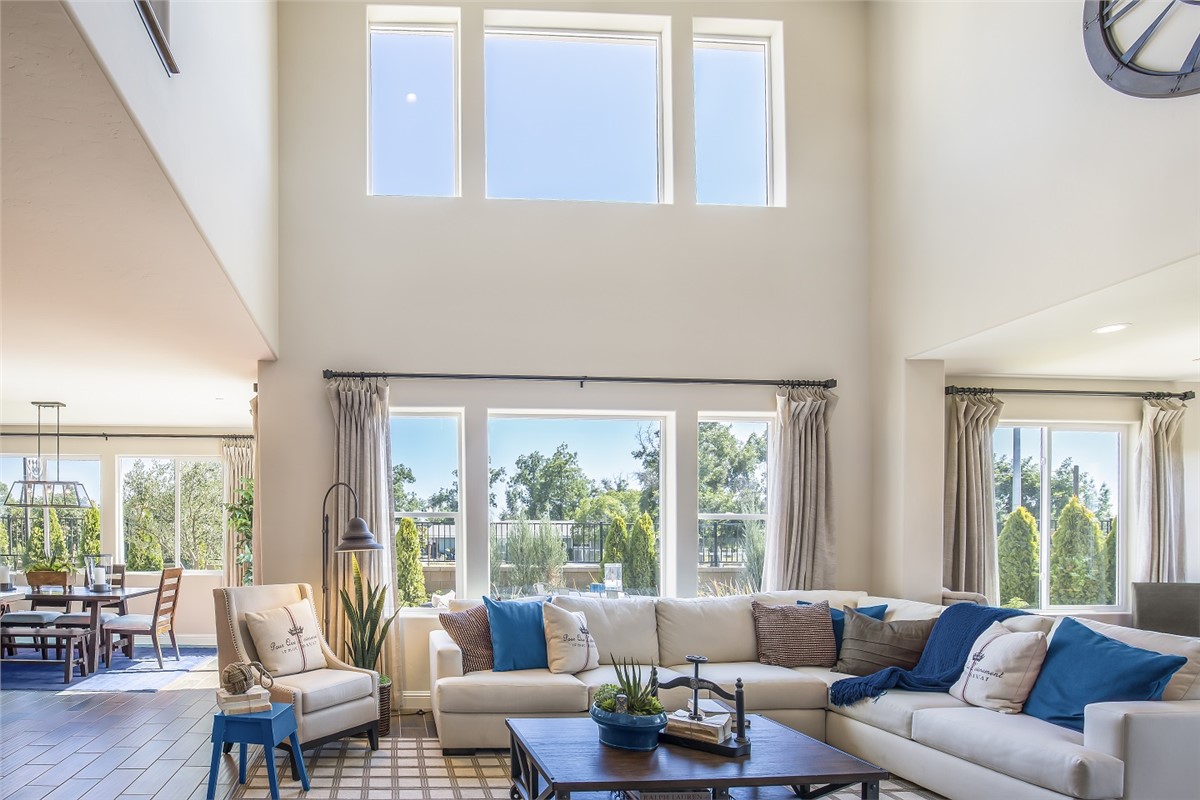
When it comes to a home improvement project as significant as new windows, it's crucial to make the right decision. While many homeowners may have an idea of the window styles they prefer, it can be tricky to choose a window frame material.
Read MoreSubscribe to Expo Home Improvement's Blog